


Set Up A Linux Based (OpenVPN) VPN Concentrator
In this blog I would to share how we install the VPN concentrator/gateway on linux server. In the cloud we used VPN. A VPN allows users secure access to a company's cloud resources, files, data or applications, such as via a website or an app. Companies often use VPNs so mobile or remote workers can access the information or applications they need without being in the office or having an on-premises IP address.
What is OpenVPN?
OpenVPN is a VPN (Virtual Private Network) solution that helps you secure your data communications. There are other VPN solutions available, but OpenVPN provides an easy to use interface for configuration of the Access Server, in addition to an easy to use OpenVPN Connect client application to get your devices connected.
OpenVPN can easily be installed on any server or virtual machine (VM) to provide a more secure and private Internet experience for you and your users. Setting up OpenVPN can be beneficial to many different usage scenarios, including:
- Increased Internet privacy from your local ISP or Wifi hotspot
- Provide more secure remote access for employees
- Secure IoT solutions
- More secure cloud and hybrid networking scenarios
Create a OpenVPN Virtual Machine in Azure
Open the Azure Portal, and search the marketplace for OpenVPN then select the OpenVPN Access Server option.
On the OpenVPN Access Server, select the Start with a pre-set configuration button to get started with provisioning.
On the Choose recommended defaults that match your workload step, you’ll want to choose an option that reflects what you are looking to do with the VPN server. If you are looking to just setup a simple VPN server for Personal or Dev/Test use then select the Dev/Test workload environment option and the General purpose workload type for now. You will configure the actual Virtual Machine size / pricing tier in a future step so don’t worry about that right now. Then select the Continue to create VM button.
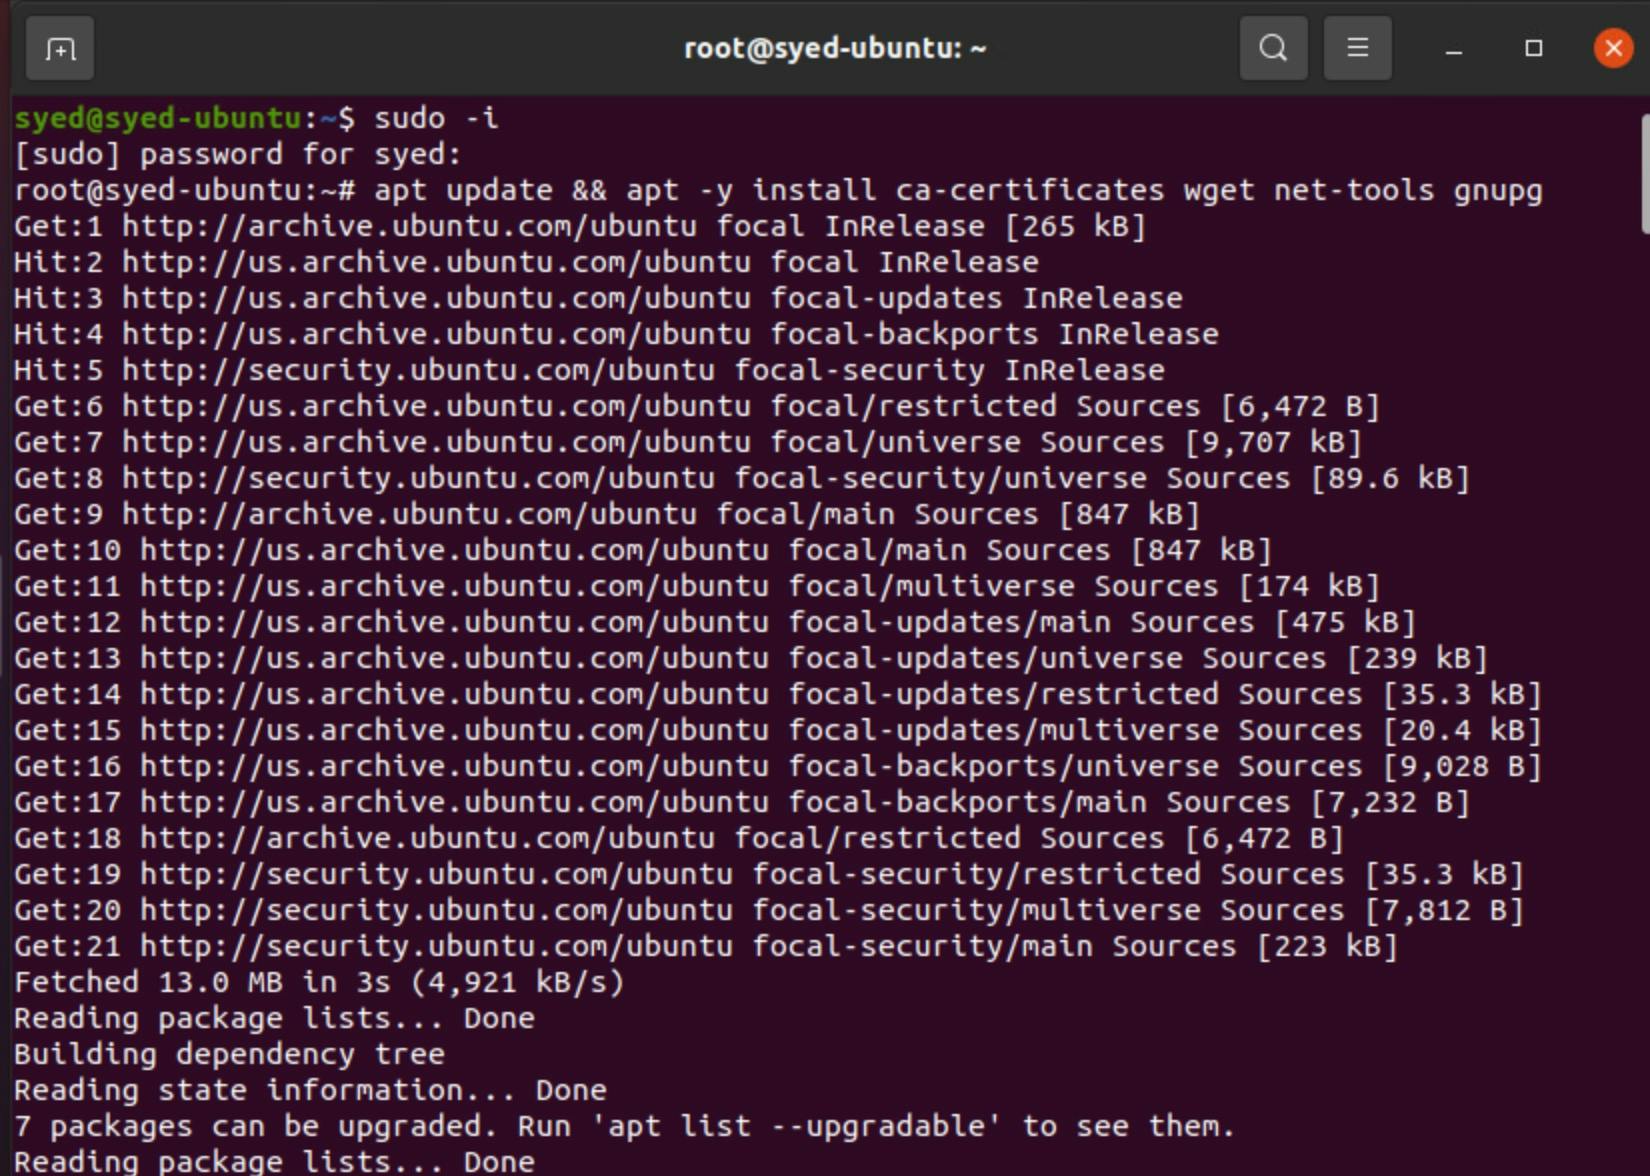
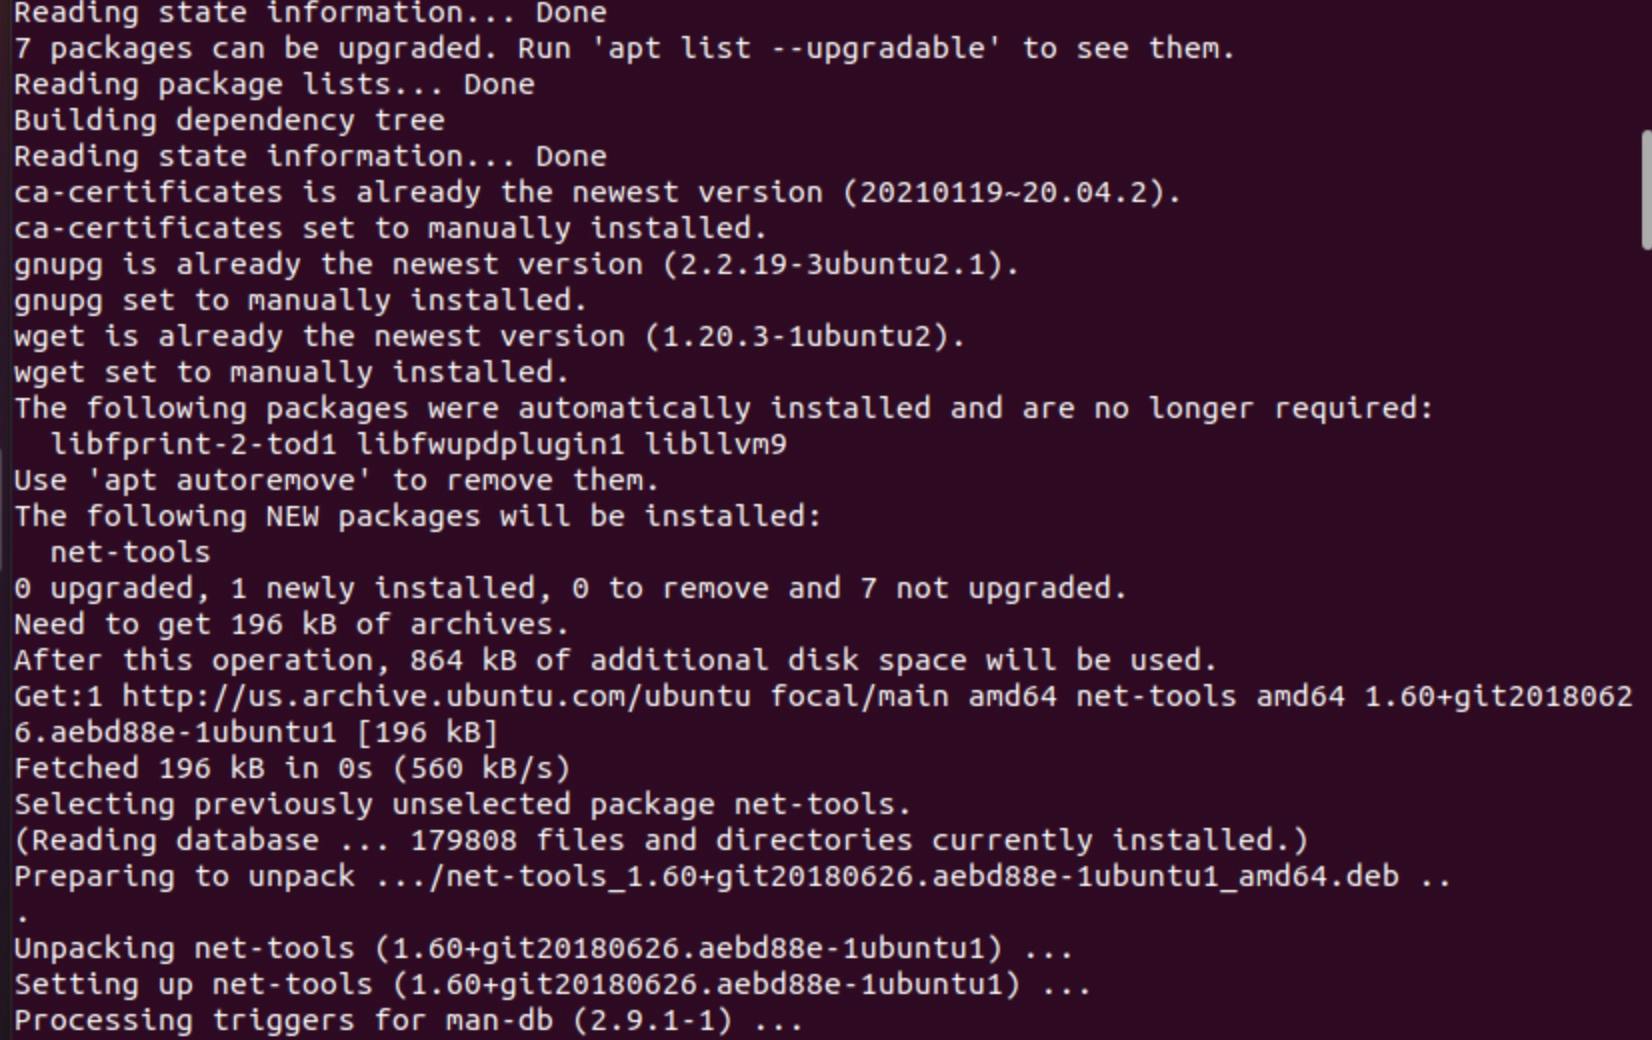
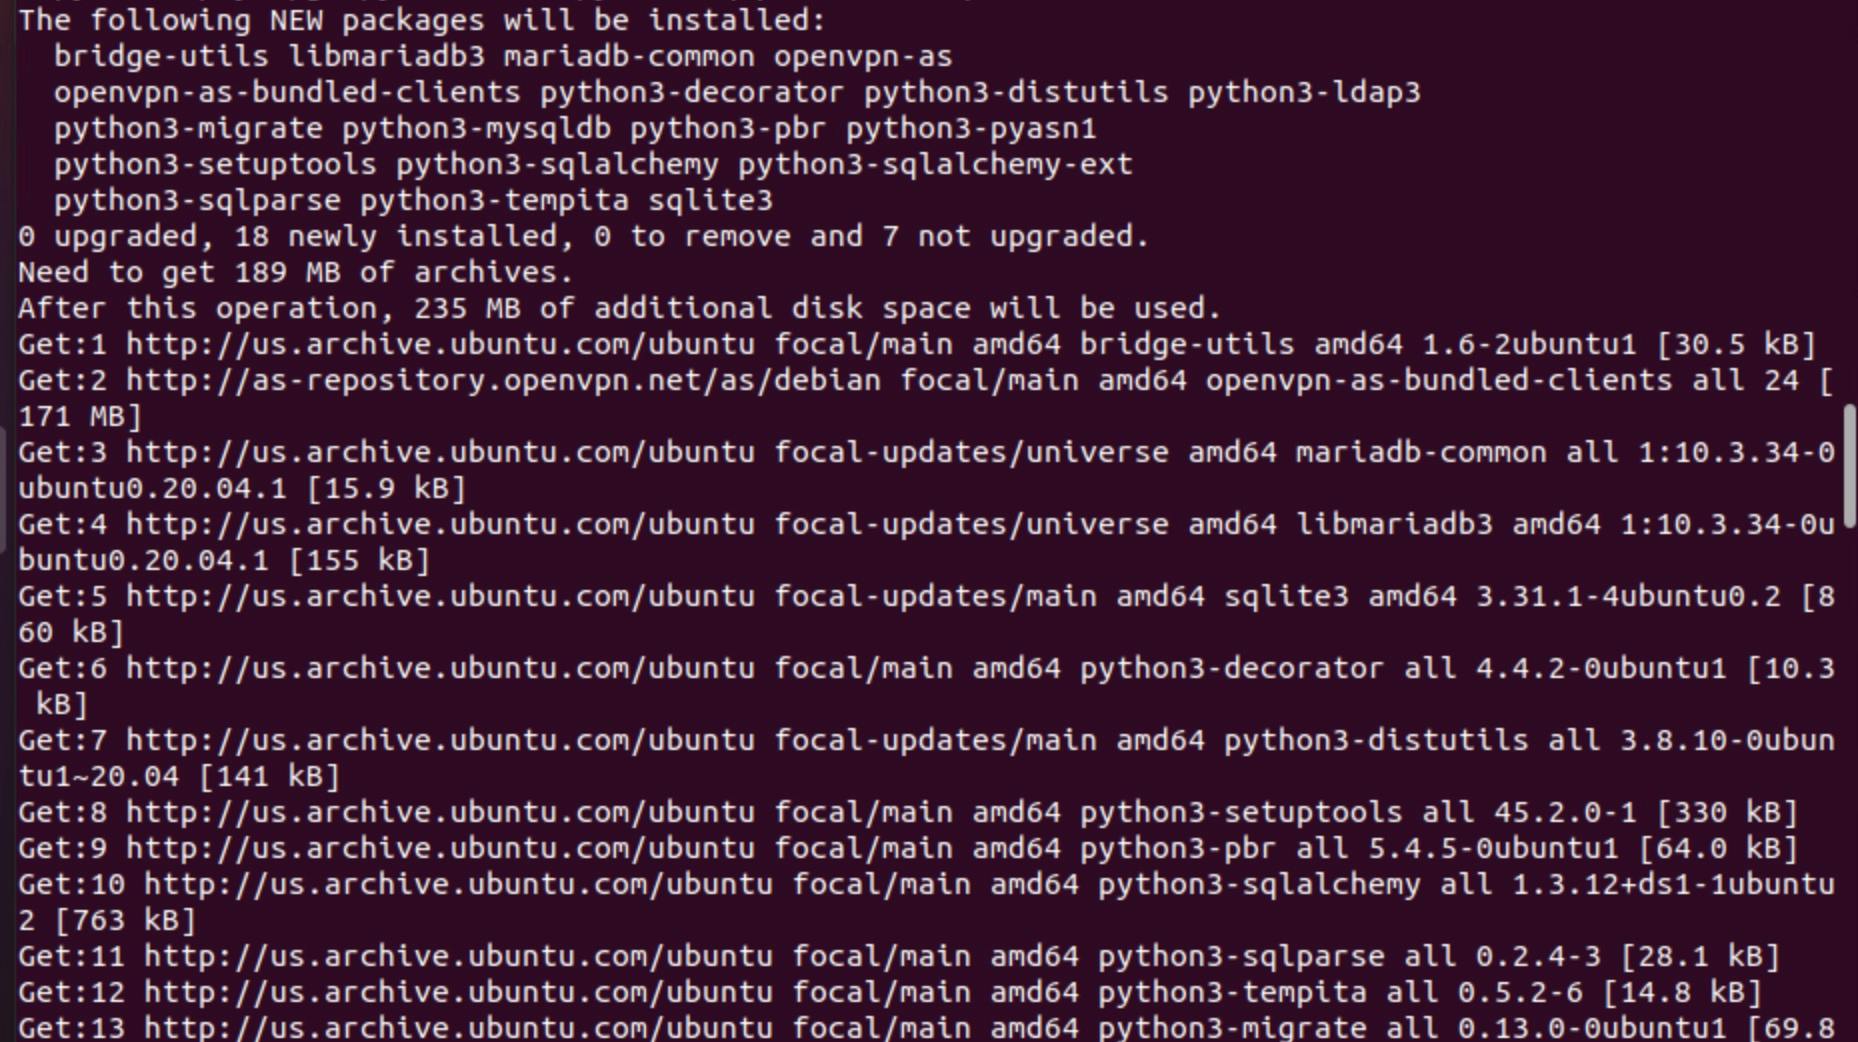
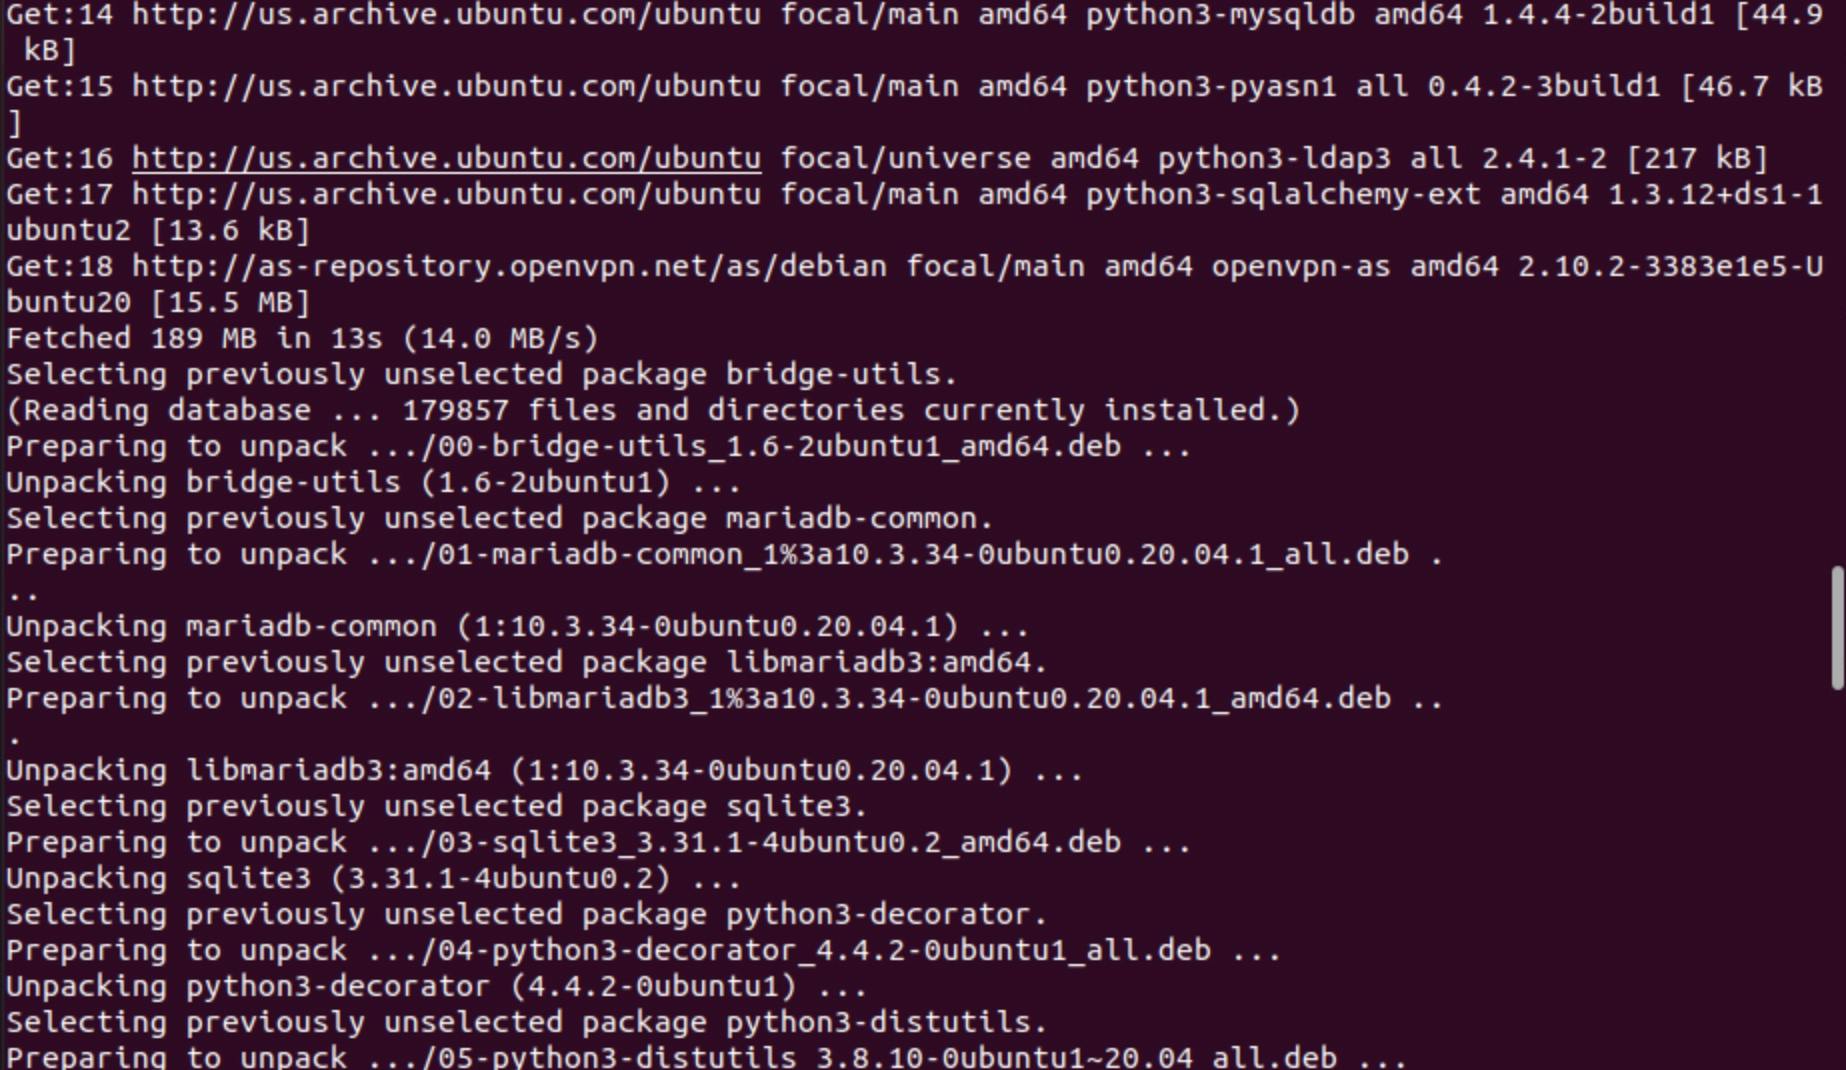
To test I used my ubuntu server and installed the OpenVPN on ubuntu server.


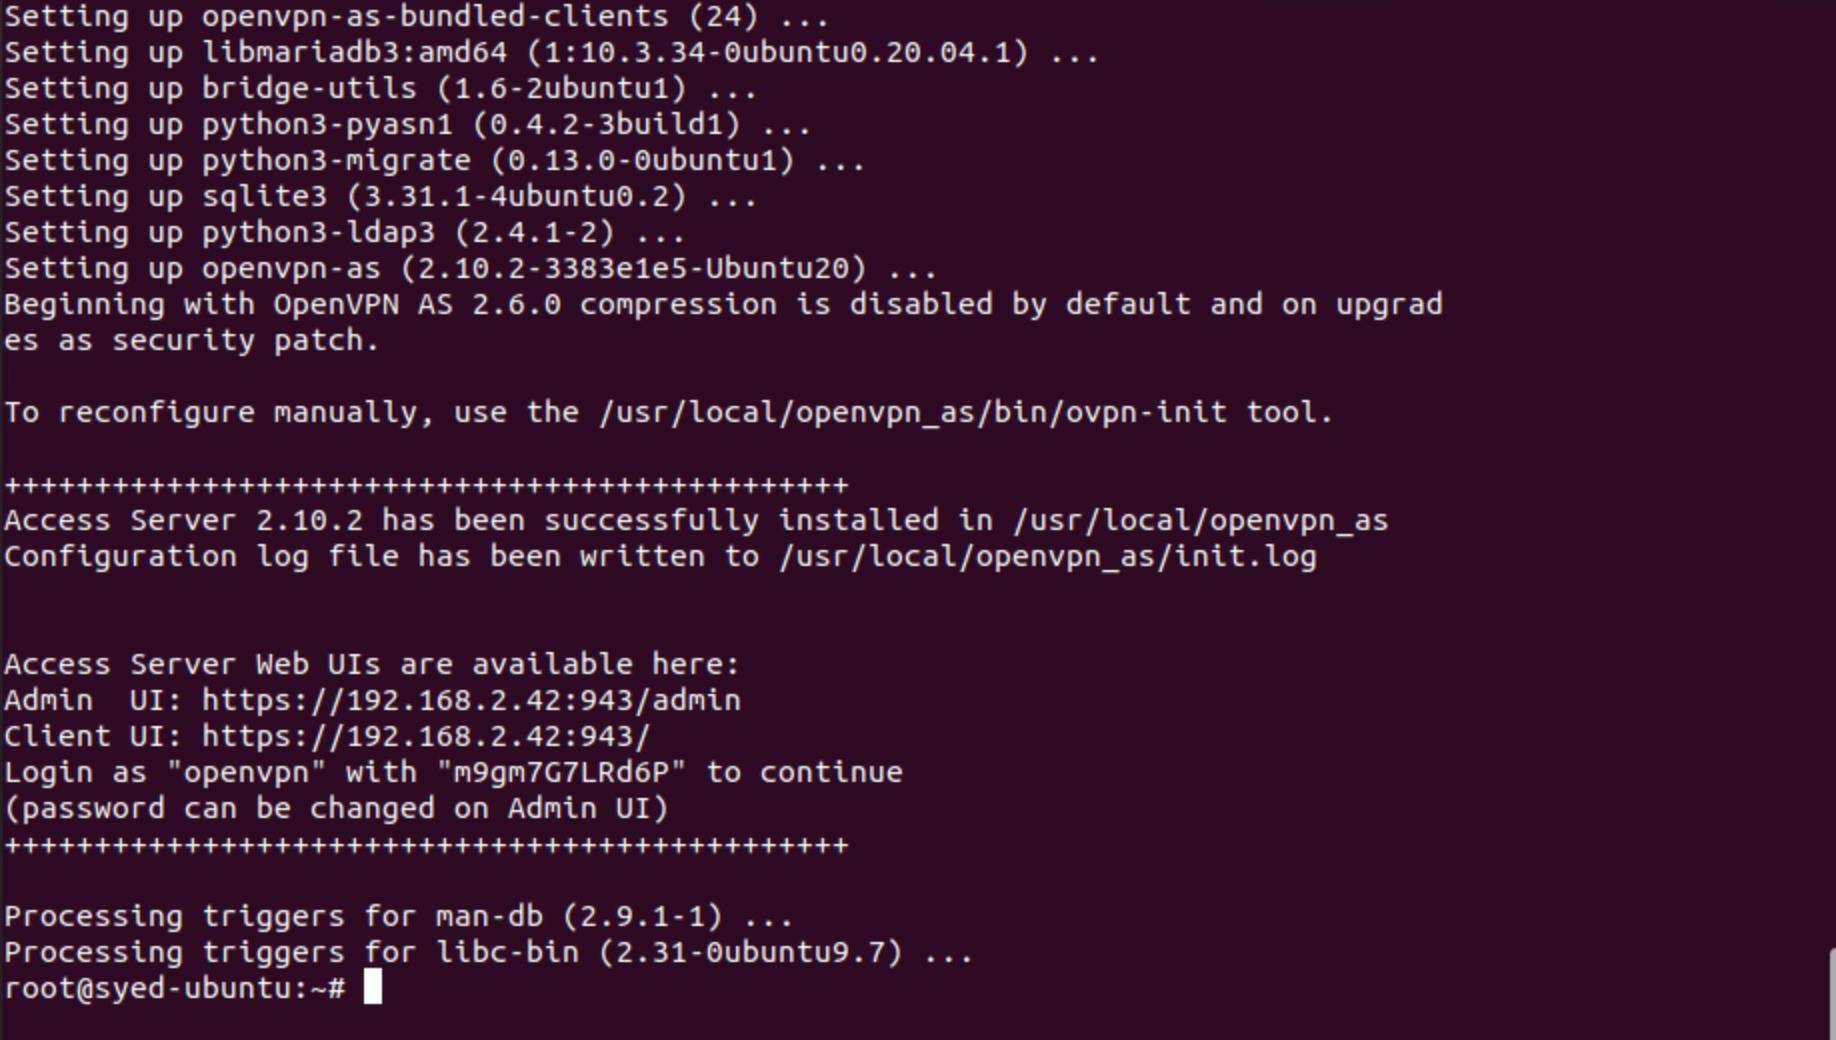
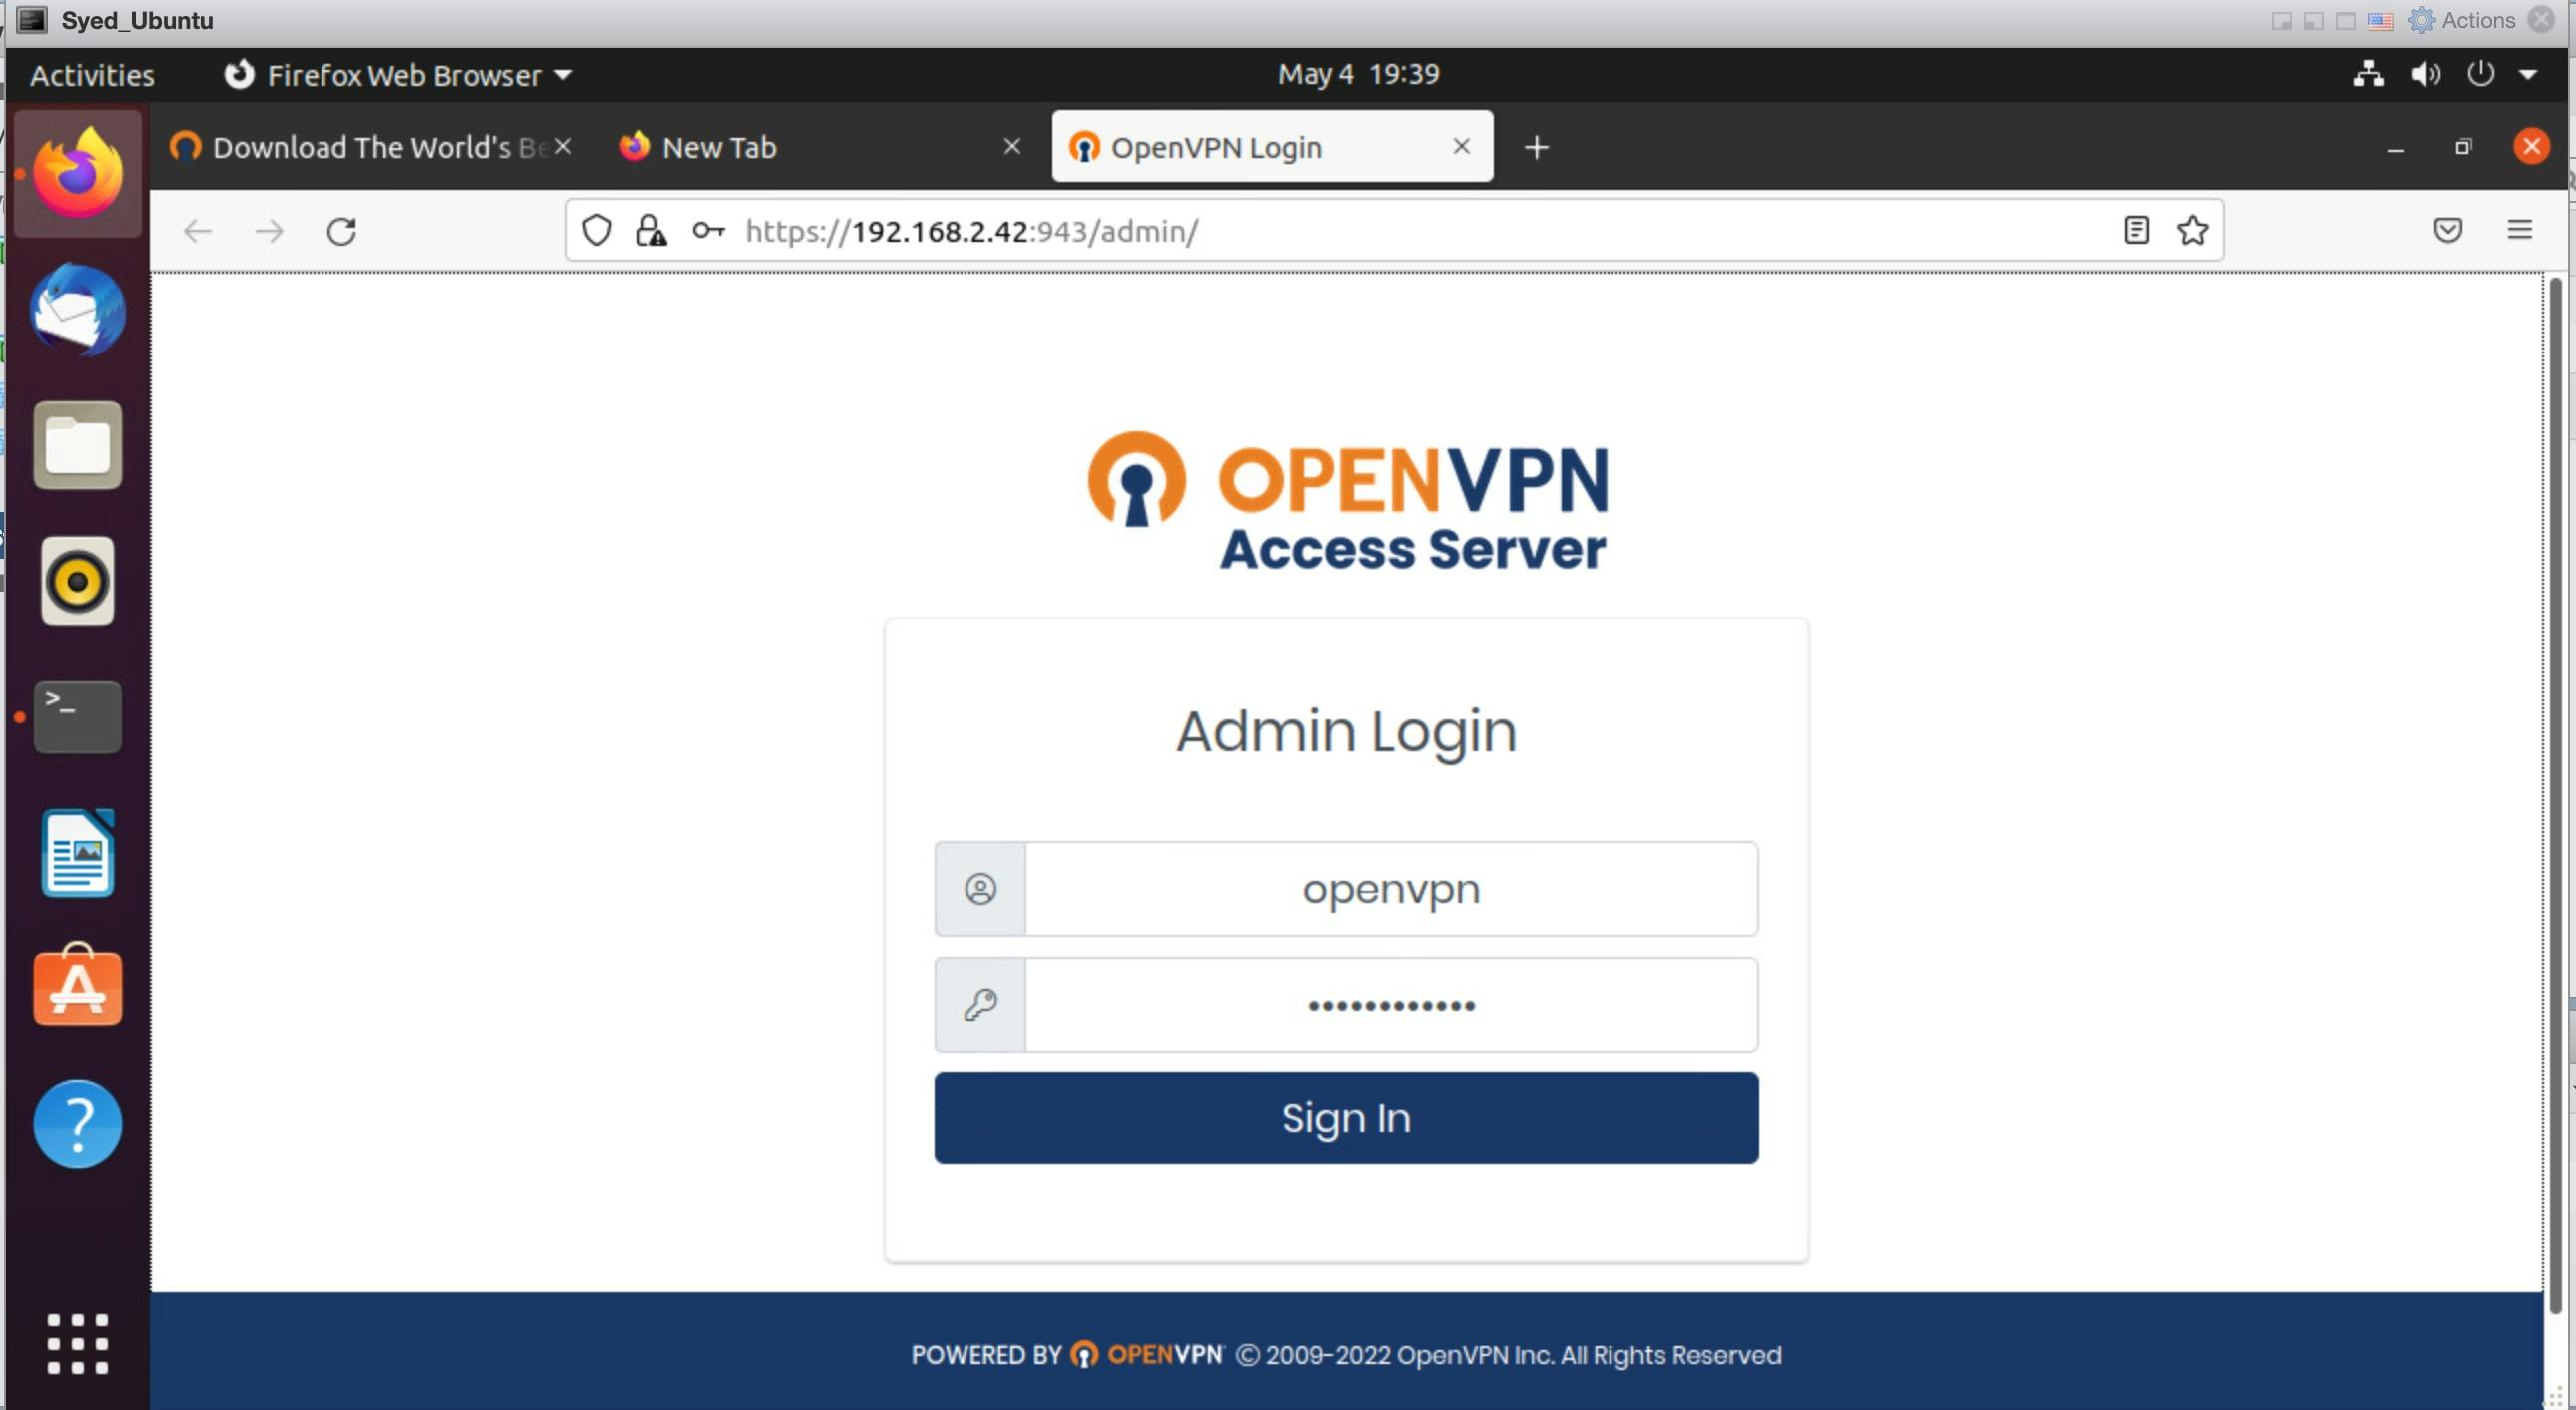
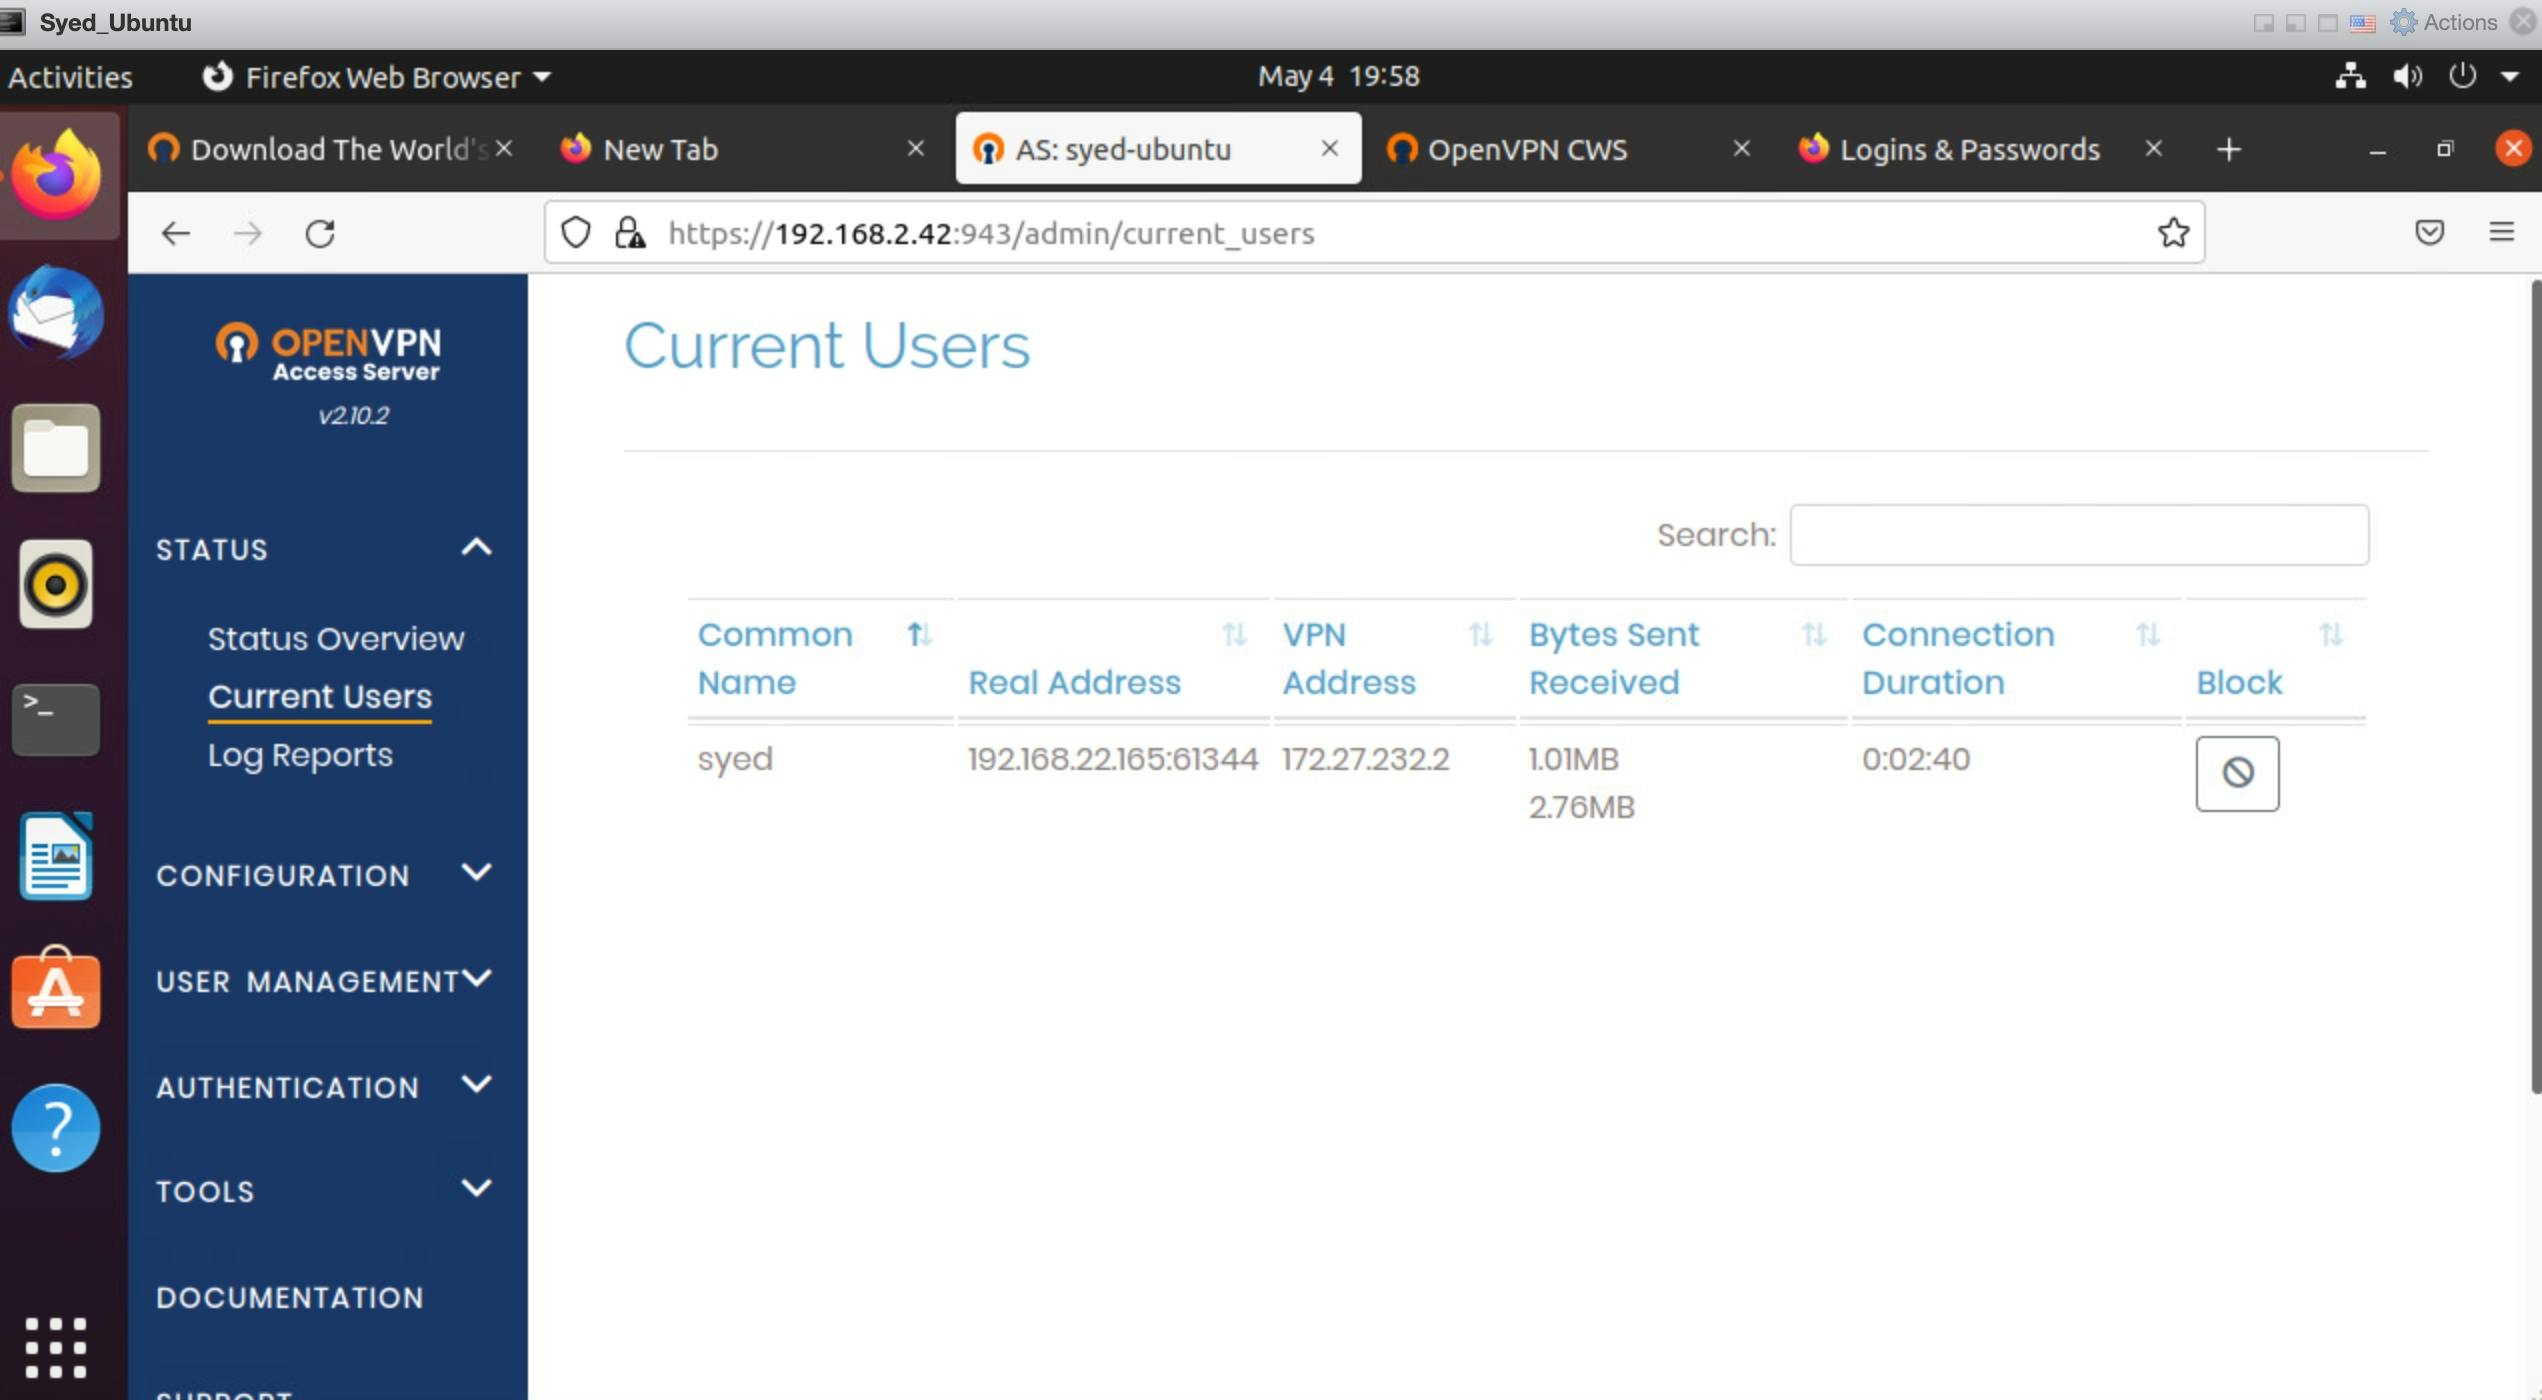
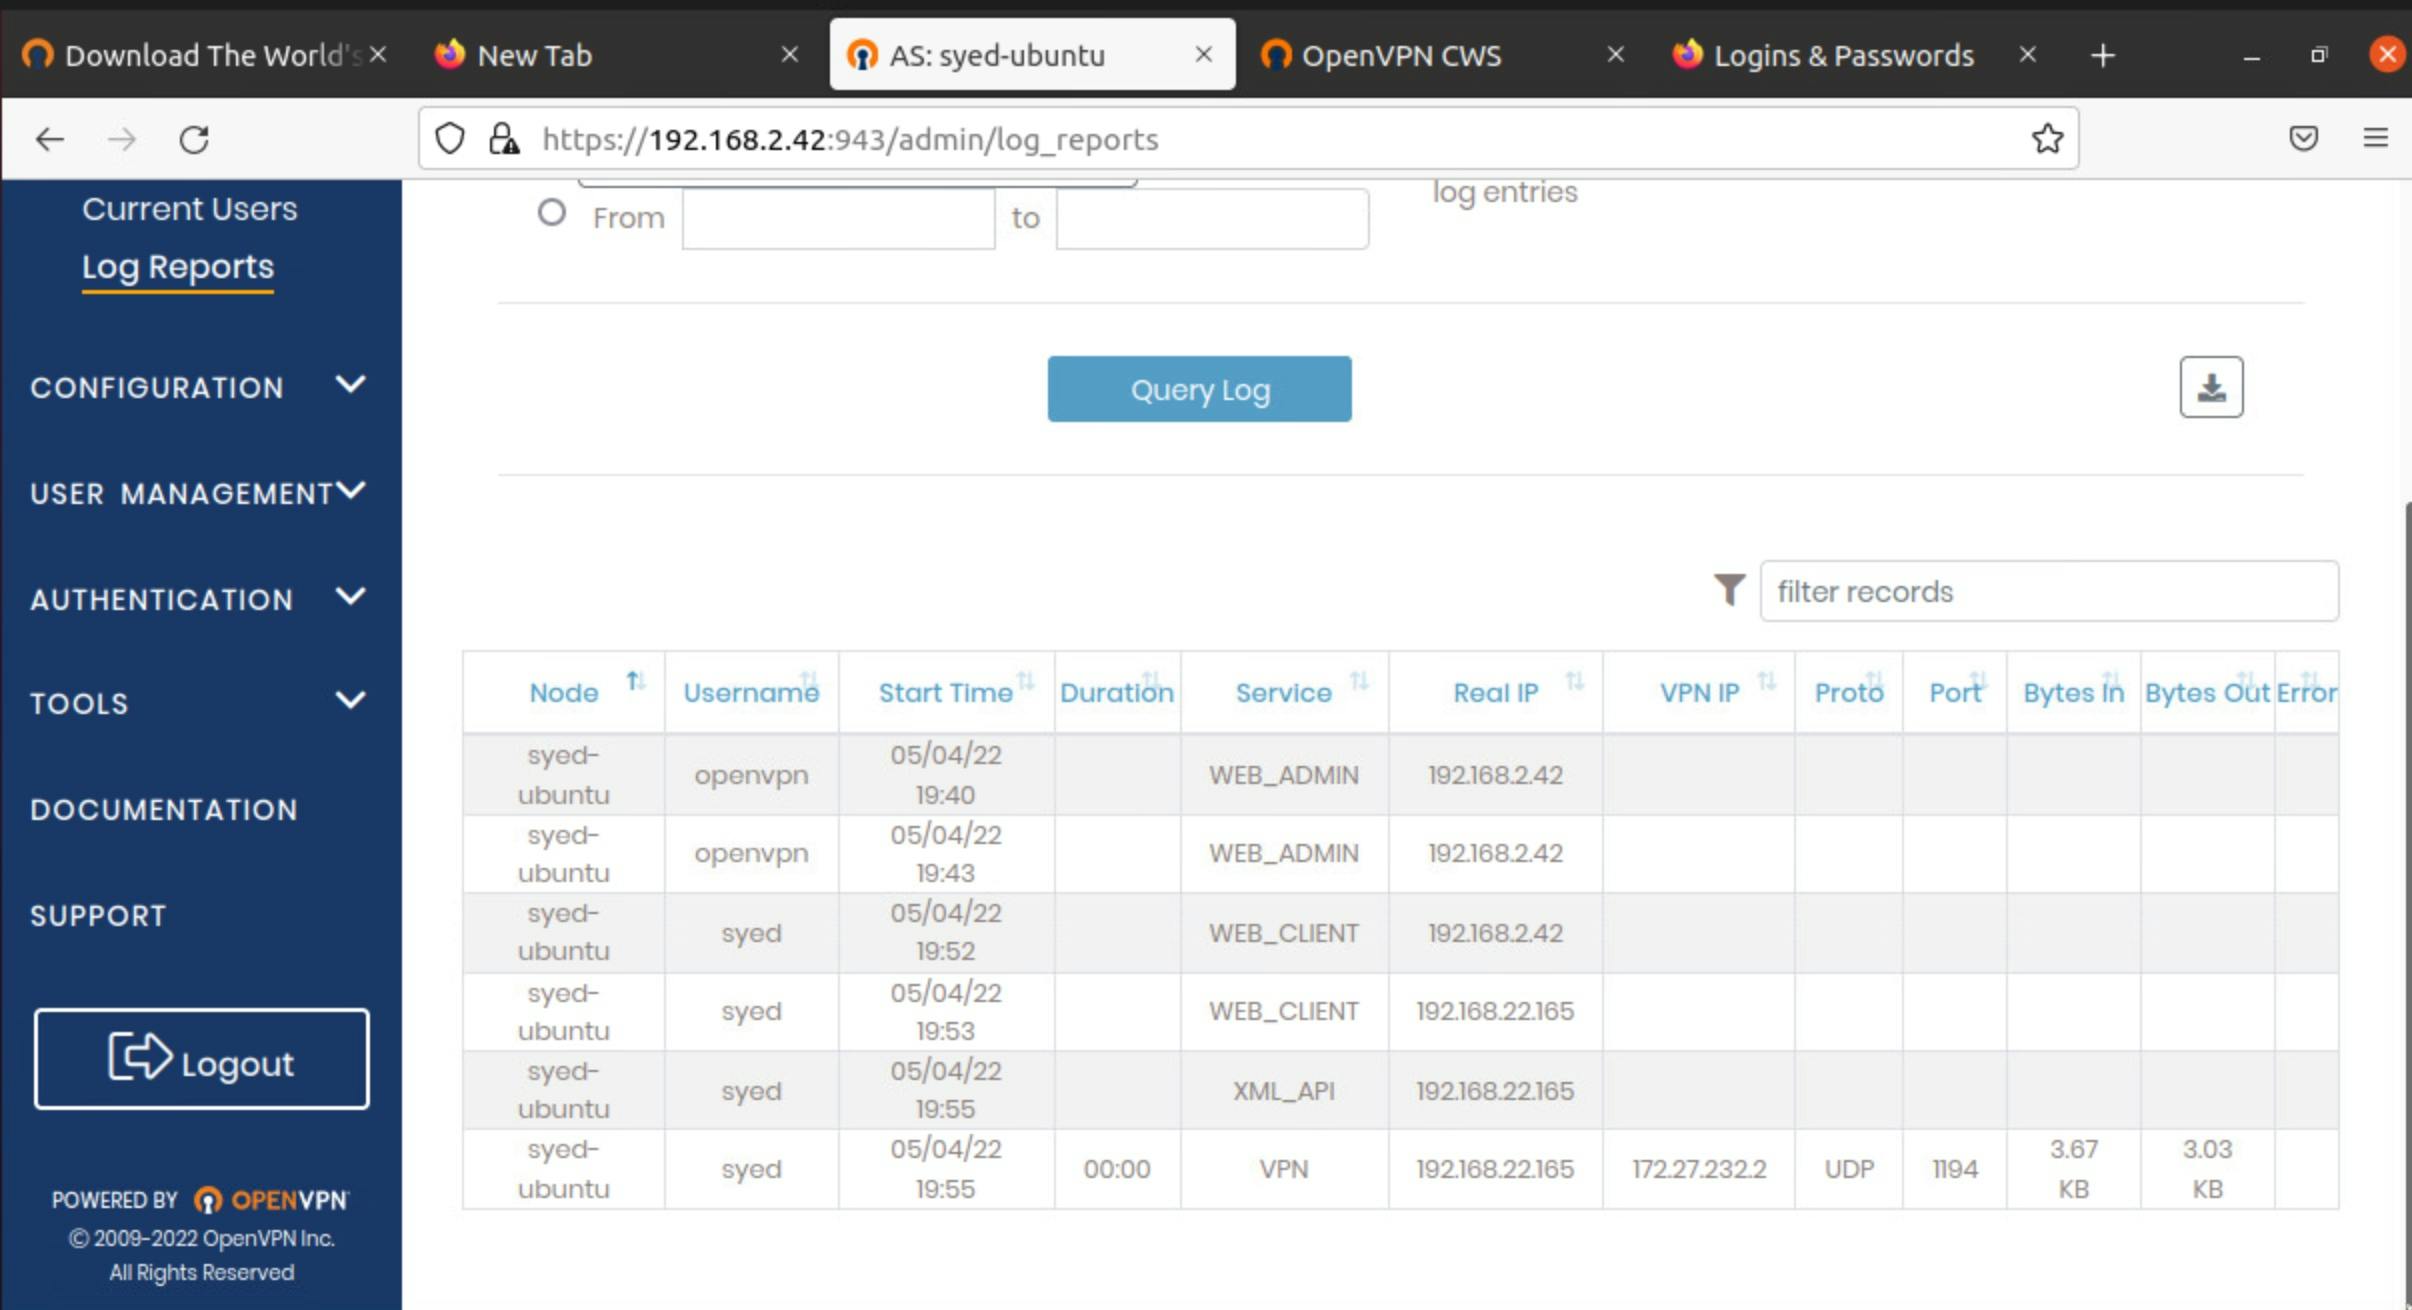
Save the information displayed in the terminal for your future reference. Also, make sure you save the usernames and passwords entered. Now that you have the OpenVPN server setup and configured, you can use the OpenVPN Connect app on your device to connect to and use the VPN. Initially, you can use the username and password configured for the “Admin UI” to use the VPN. However, you can also use it to login to the “Admin Web UI” URL and configure the OpenVPN server and add additional user accounts as necessary.

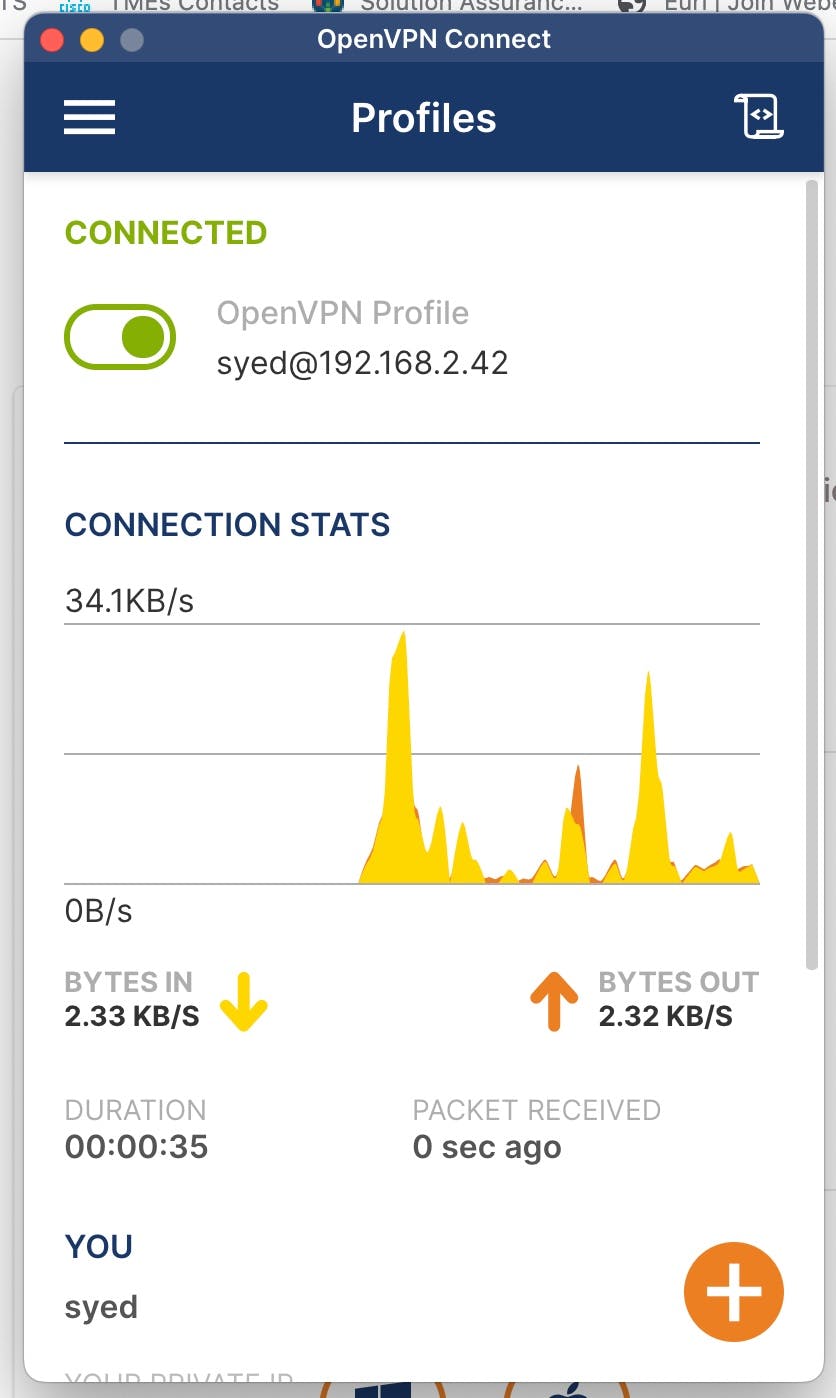
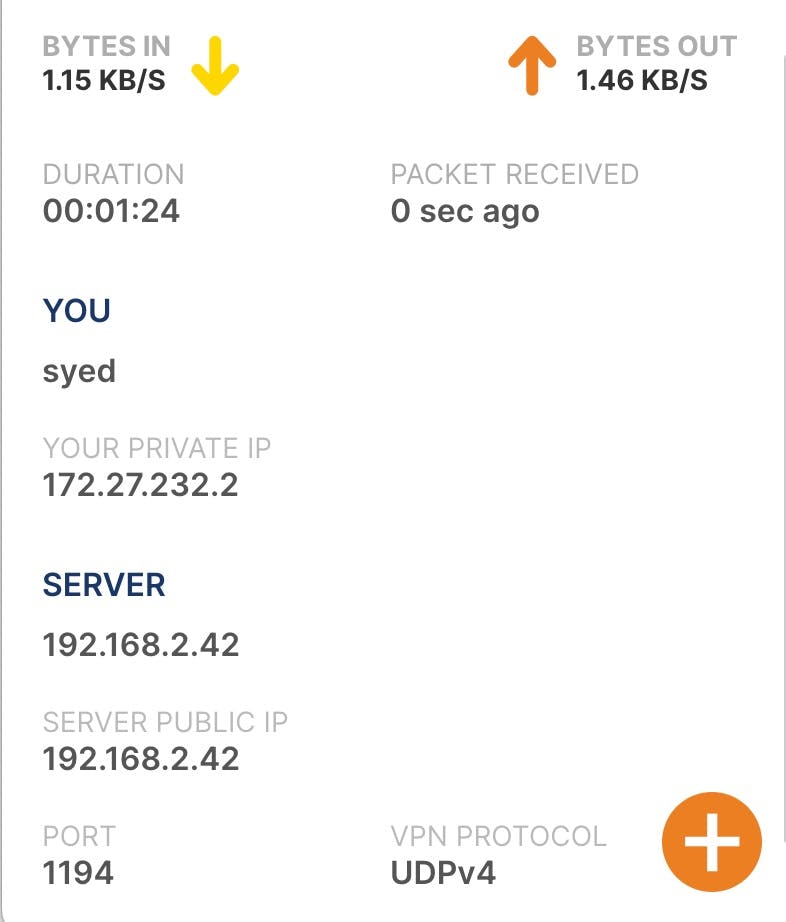
Connect to VPN with OpenVPN Connection When connecting devices to a VPN hosted with OpenVPN, you will need to use the OpenVPN Connect client application. There is a distribution of this application for all operating systems. On mobile platforms (iOS and Android) you can download this from the App Store.
Also, if you need help locating the client, you can login to the OpenVPN Web UI, where you will see links to download the OpenVPN Connect client application for your device(s).

Conclusion: In this blog we learn how to install and test the OpenVPN on linux server .